SCAD Render Farm Guide: Karma
Tired of waiting hours for less than 5 seconds of footage, or waking up to a crashed program and half a project rendered? SCAD’s render farm is a lifesaver in speeding up the rendering process. This article will cover using the render farm to render with Houdini’s Karma using USDs.
Please note: This tutorial expects a bit of background knowledge on both Solaris/Karma and the render farm. I recommend waiting until the farm is covered in a class before using it if possible!
If you are completely new to Houdini’s Solaris, the basics of setting up the stage are covered in another RenderQ article here.
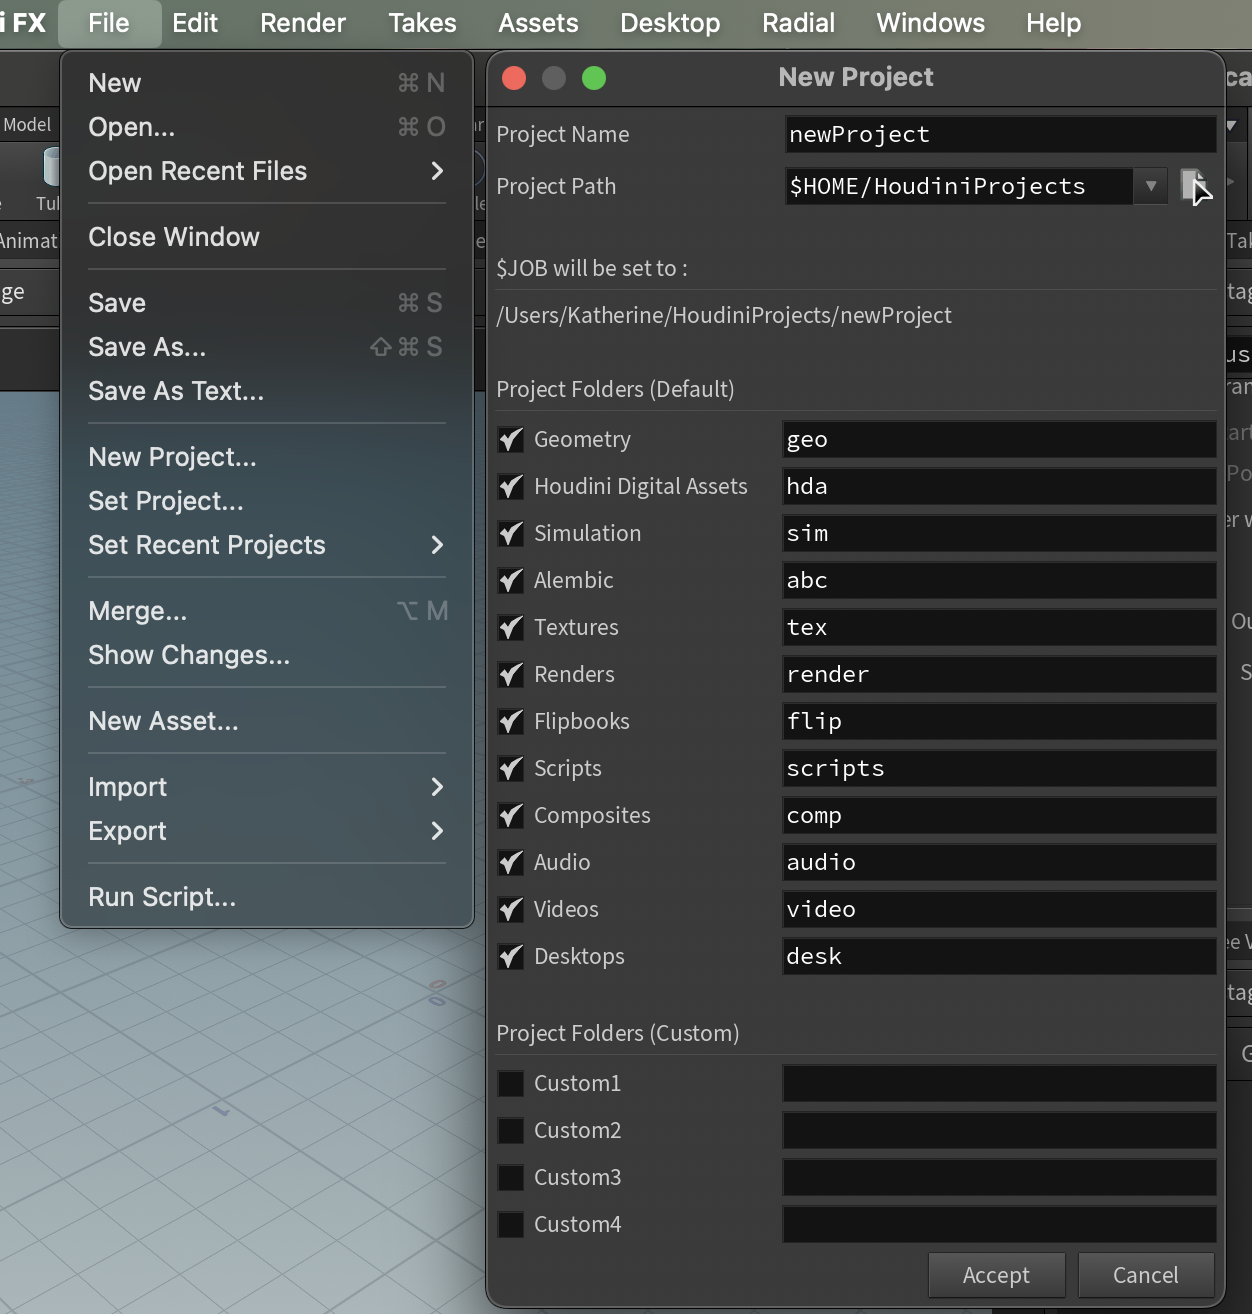
Before you start, it’s important to always have your project folder correctly set up and organized.
Step 1: Setting up USD Rop
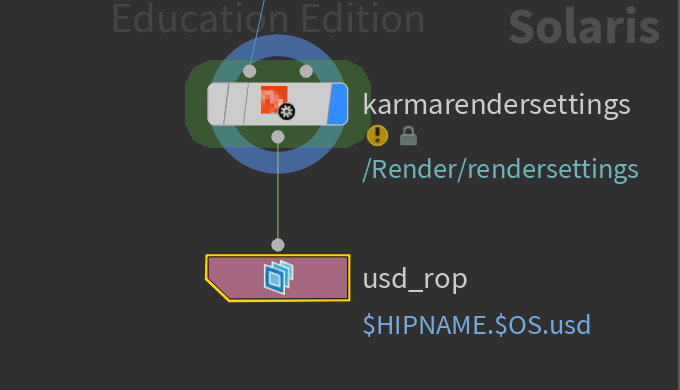
Once your project is ready to render, and your Karma Render Settings node is set up to your needs/ preferences, create a USD Rop connected to your Karma Render Settings node. This is not to be mistaken with a USD Render Rop, which is what is used when rendering locally.
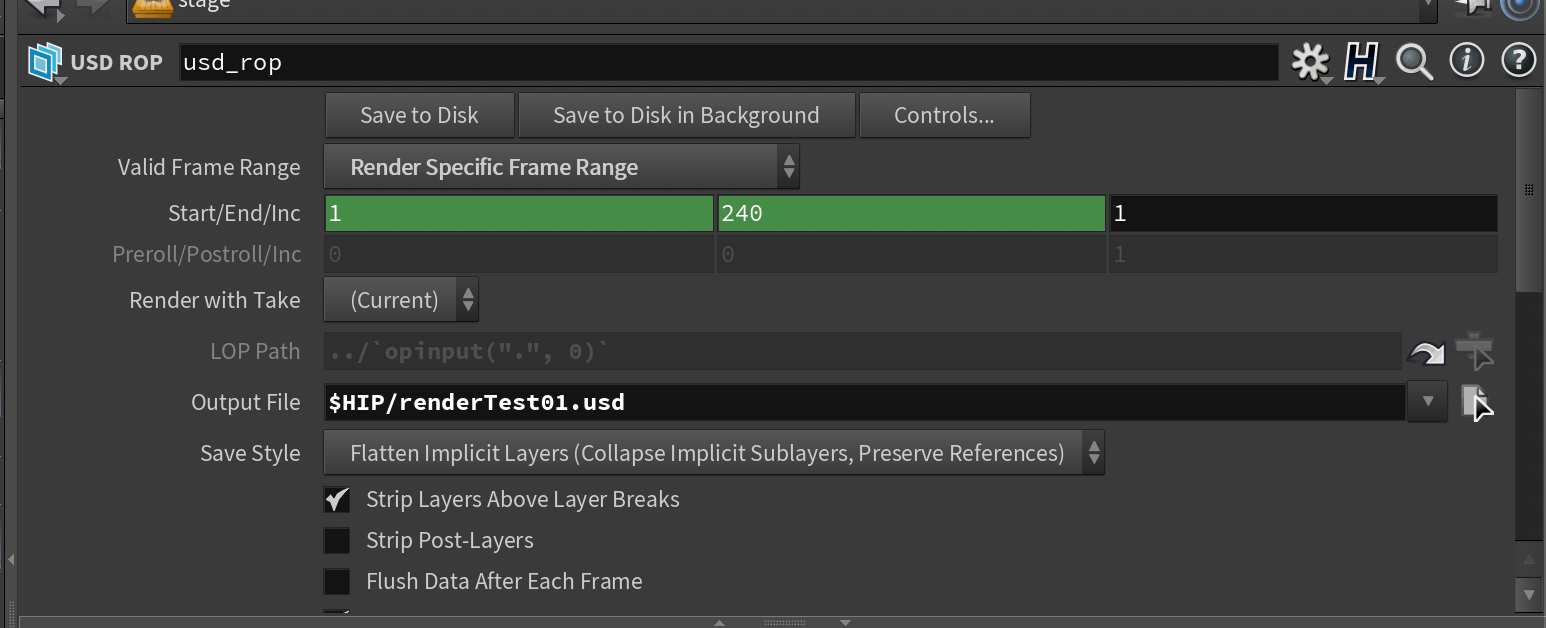
A USD Rop will render out a USD file of your project. In the USD Rop node, set your frame range to your desired range for rendering, and set the Output File path to $HIP/fileName.usd.
Step 2: Render Out USDs
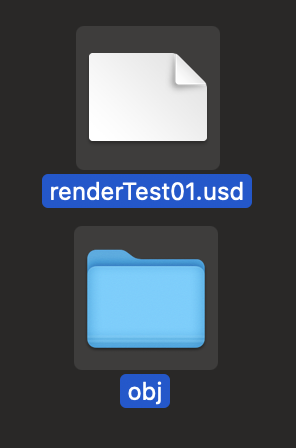
Upon pressing ‘Save to Disk,’ the node will generate a USD file. Depending on how your scene is set up/ what it contains, an obj folder may also be created to store additional elements.
Step 3: Uploading to the Farm
Then, similarly to using Maya on the farm, upload your project folder onto the render farm using FileZilla (tutorial here), MyDrive, or a lab computer. I typically upload the entire project folder, but this can get heavy if you have things like caches that the USD does not need to render, so some pruning may be necessary. At minimum, you need the USD file, obj folder, and anything else the USD file is referencing.
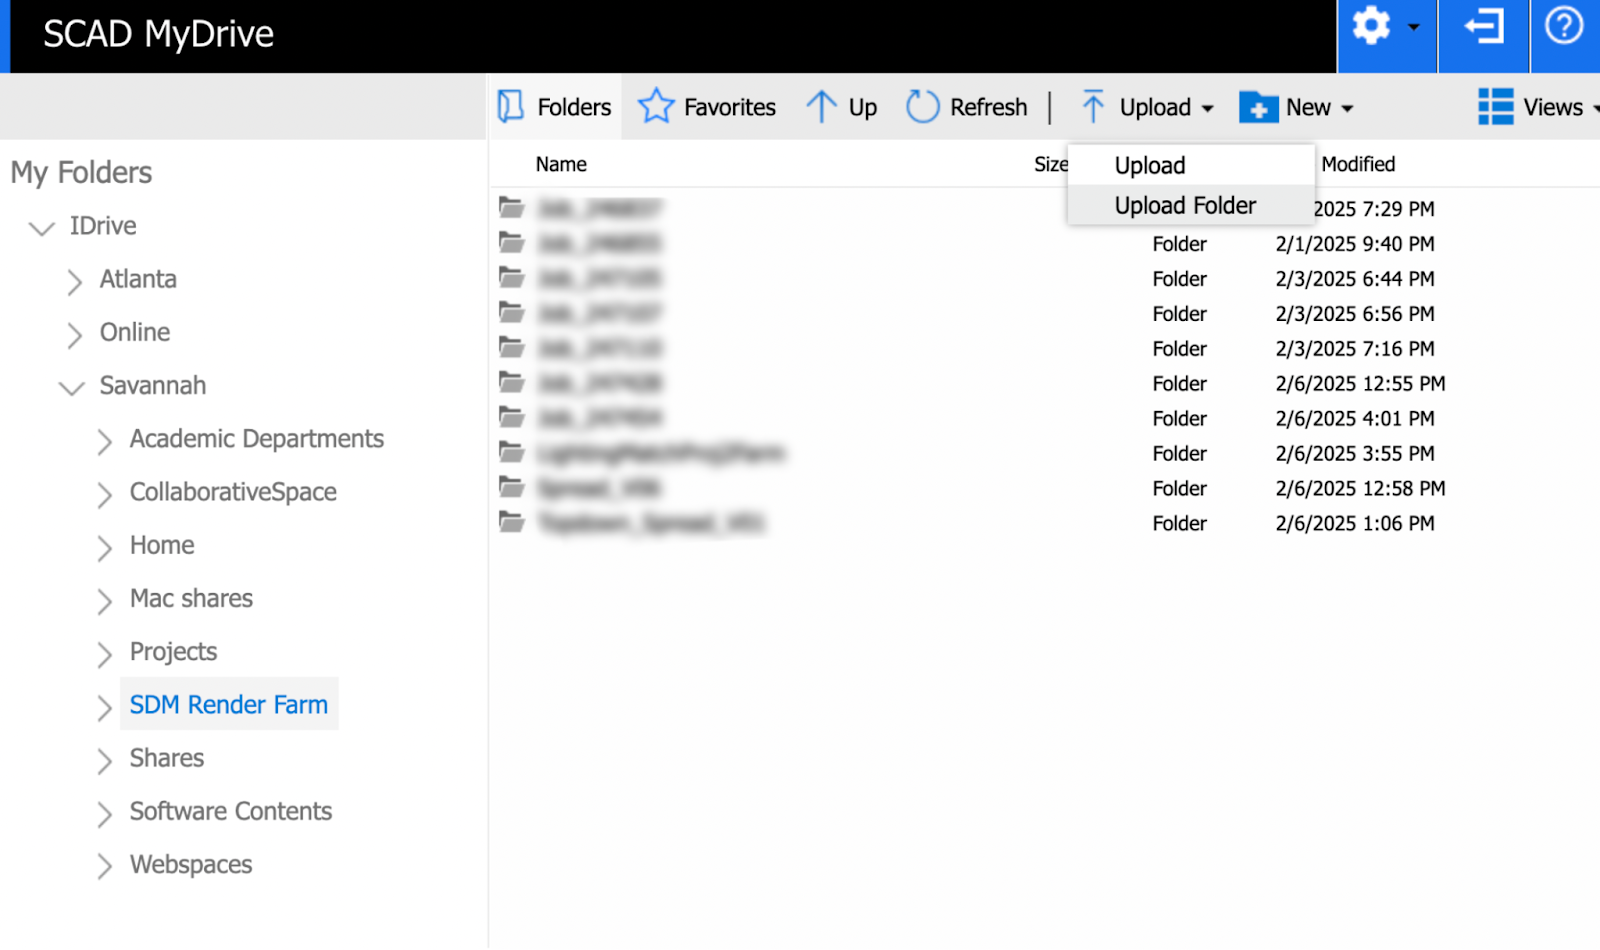
Uploading to MyDrive.
Step 4: Render
From there, head to the render farm and select the .usd you just uploaded under the Submit Job tab.
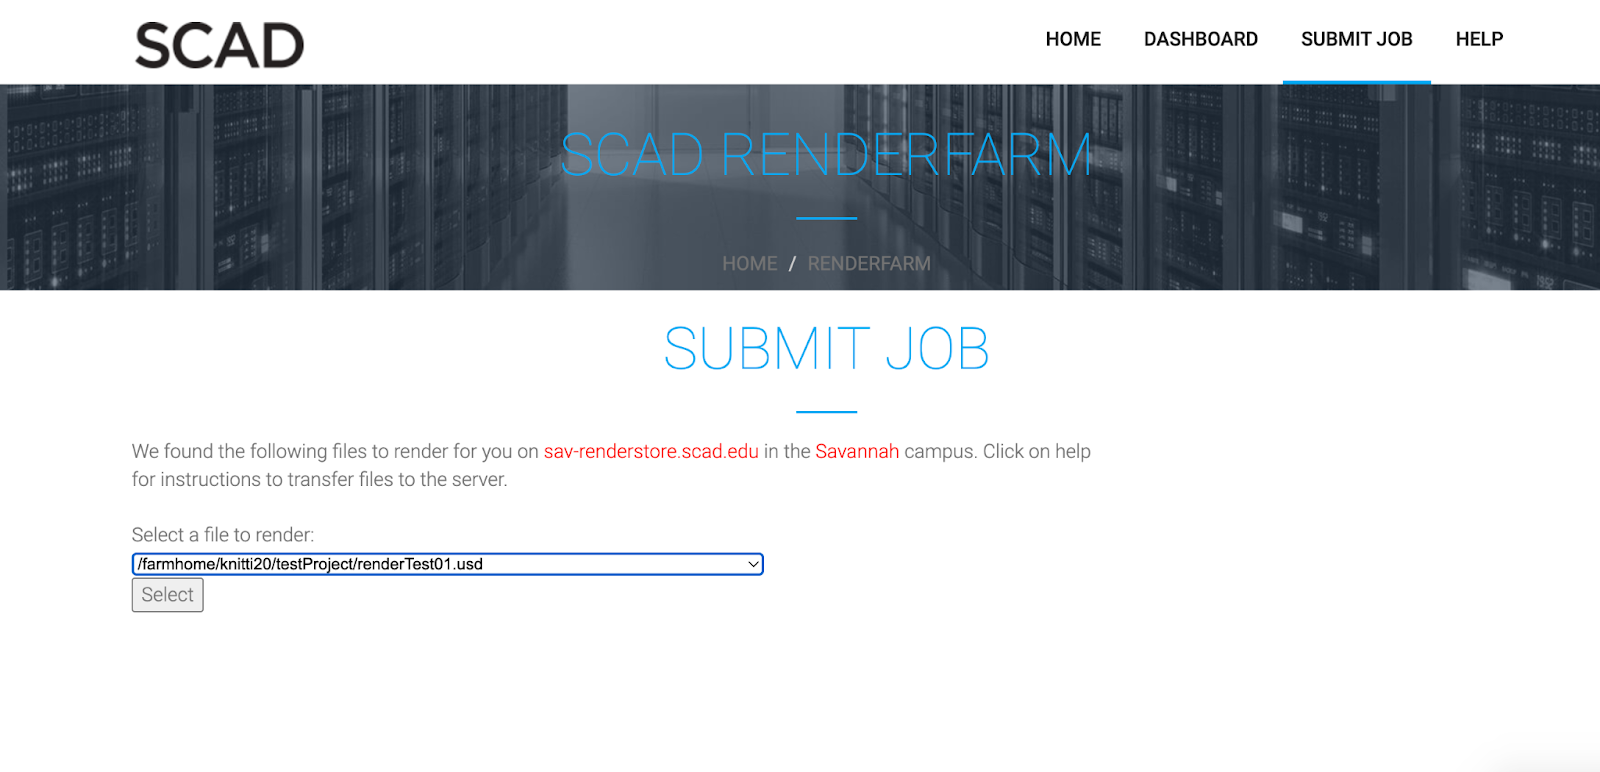
Specify your frame range and version, and submit it to the farm!
From there, you should be able to retrieve your renders from the same place you uploaded the project as you normally would. Happy rendering!