Creating Halation Effect in Photoshop
Even though digital photography is how most people take pictures there are still many people who like the film aesthetic. Thankfully, there are some easy methods in Photoshop that you can do to help make your digital photos look like they were shot on film. Many film cameras will have a slight halation effect to the lights and you will surprised how easy it is to recreate it in Photoshop.
Step 1: Duplicate Background
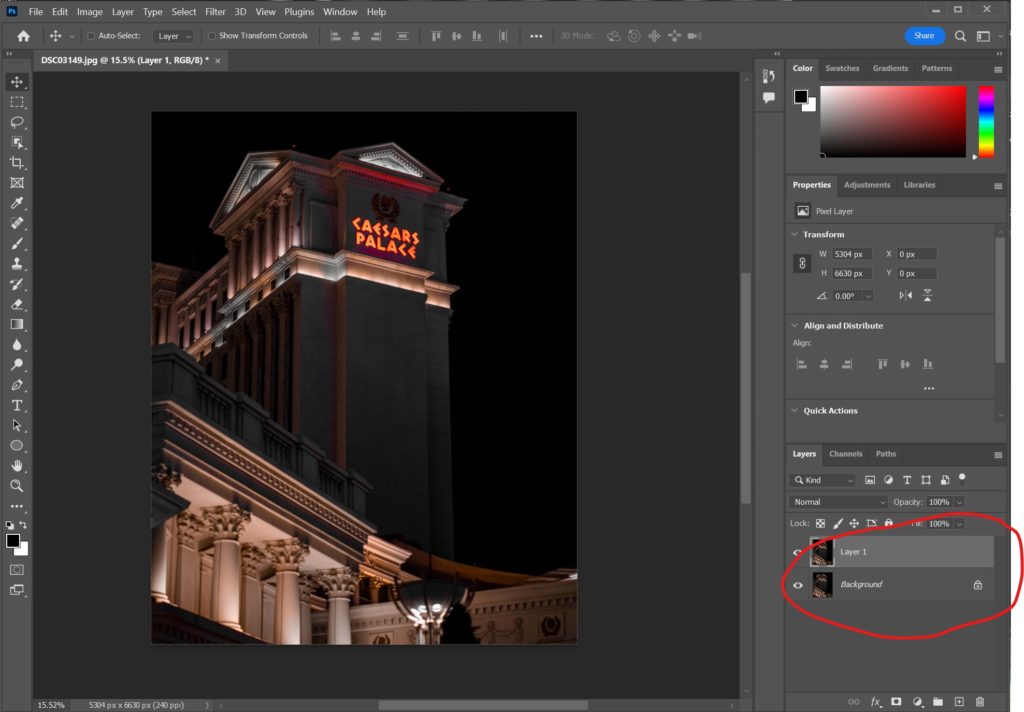
Right click and duplicate background or click on the layer and use the short key Ctrl+J on Windows or CMD+J on Mac.
Step 2: Adjust Layer
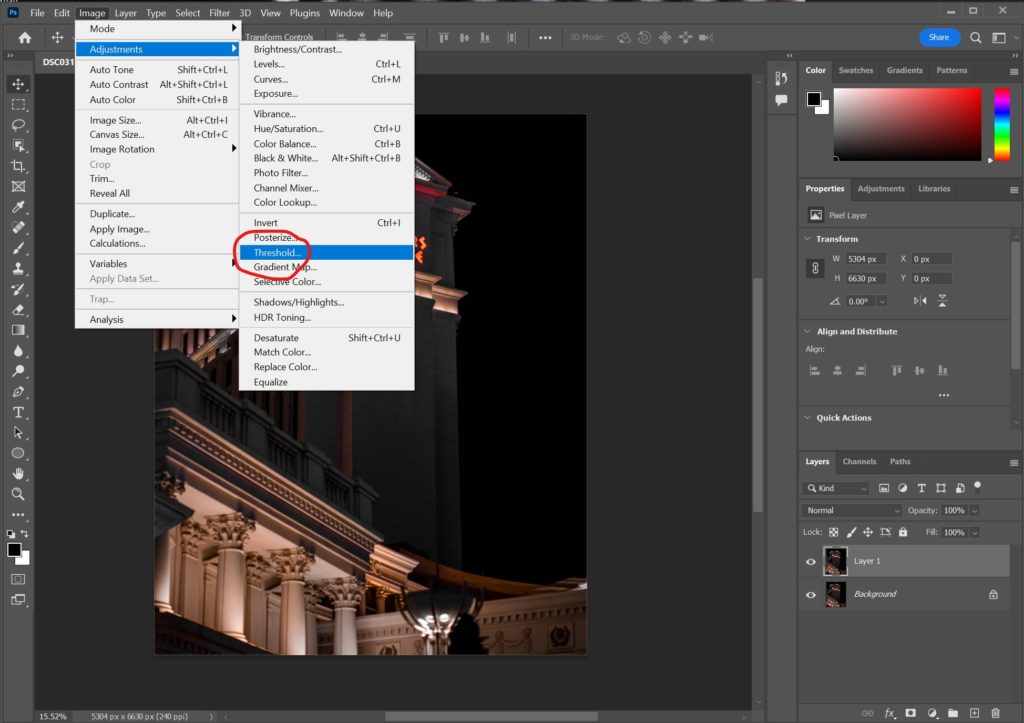
Click Image > Adjustments > Threshold
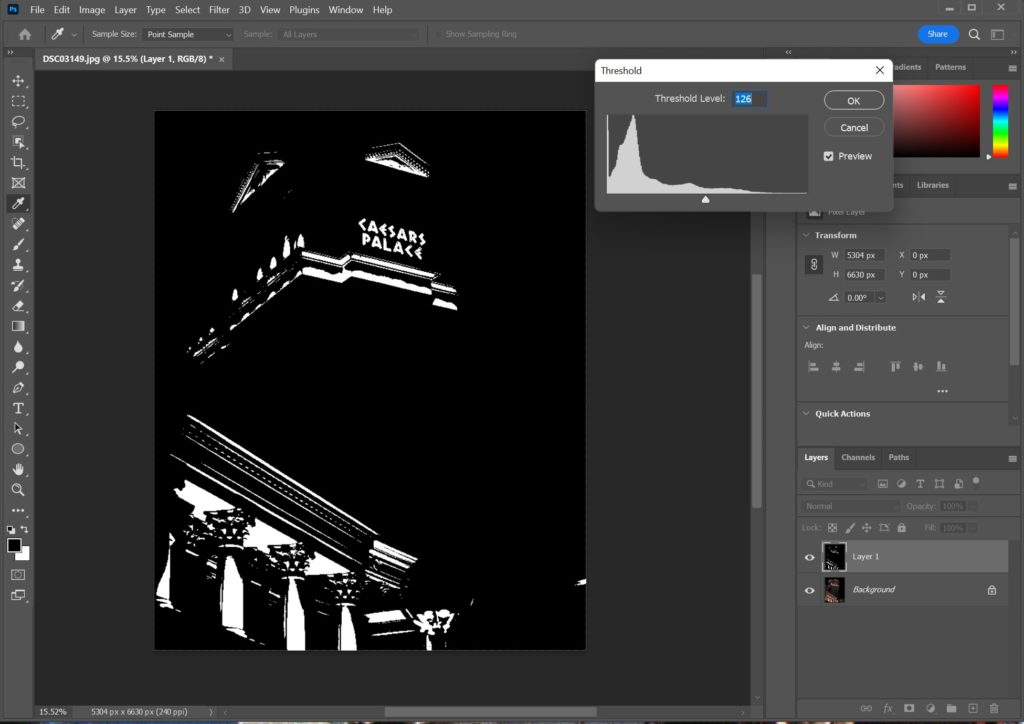
Adjust threshold level. I like to increase to about half but it depends on the image. The goal is to adjust to the brightest parts of the image.
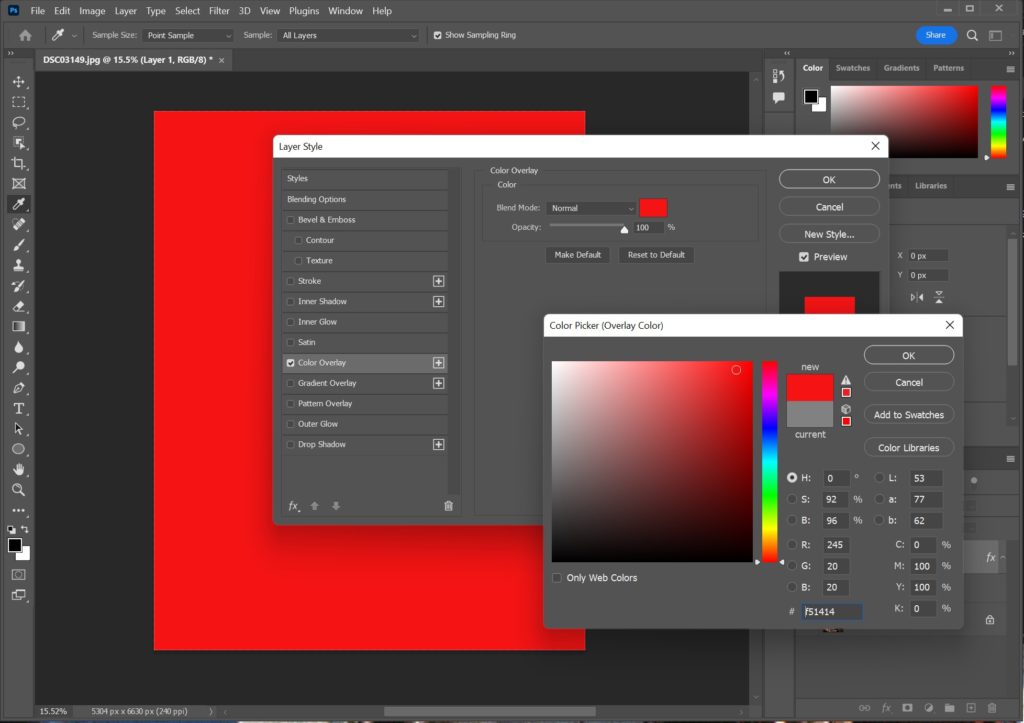
Right click on layer and go to “Layer Style” then click on “Color Overlay”. Click on the color swatch and adjust to desired color. Which color you choose depends on the image but I prefer to adjust the color to match the color of the lights in the image.
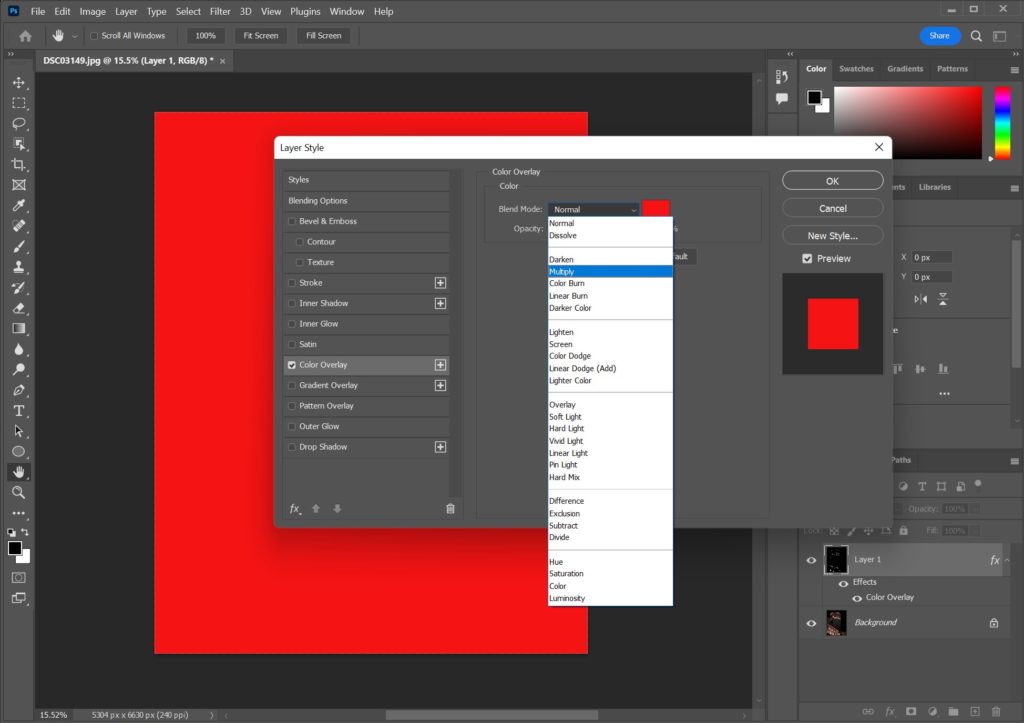
Click on “Blend Mode” then select “Multiply”.
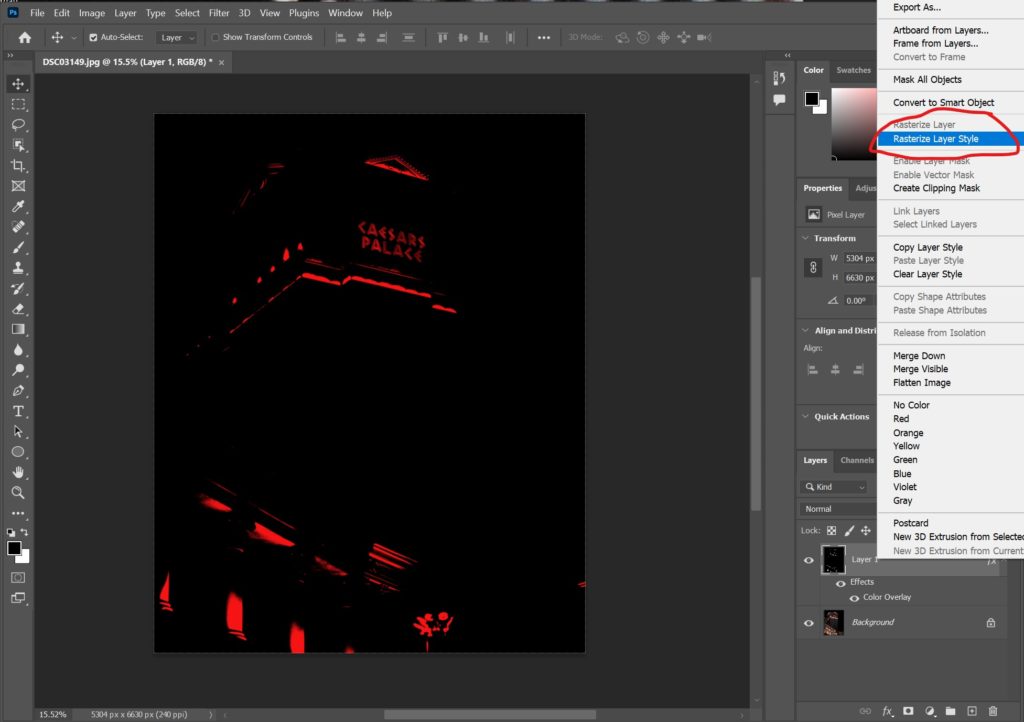
Click on layer and select “Rasterize Layer Style”.
Step 3: Blur Layer
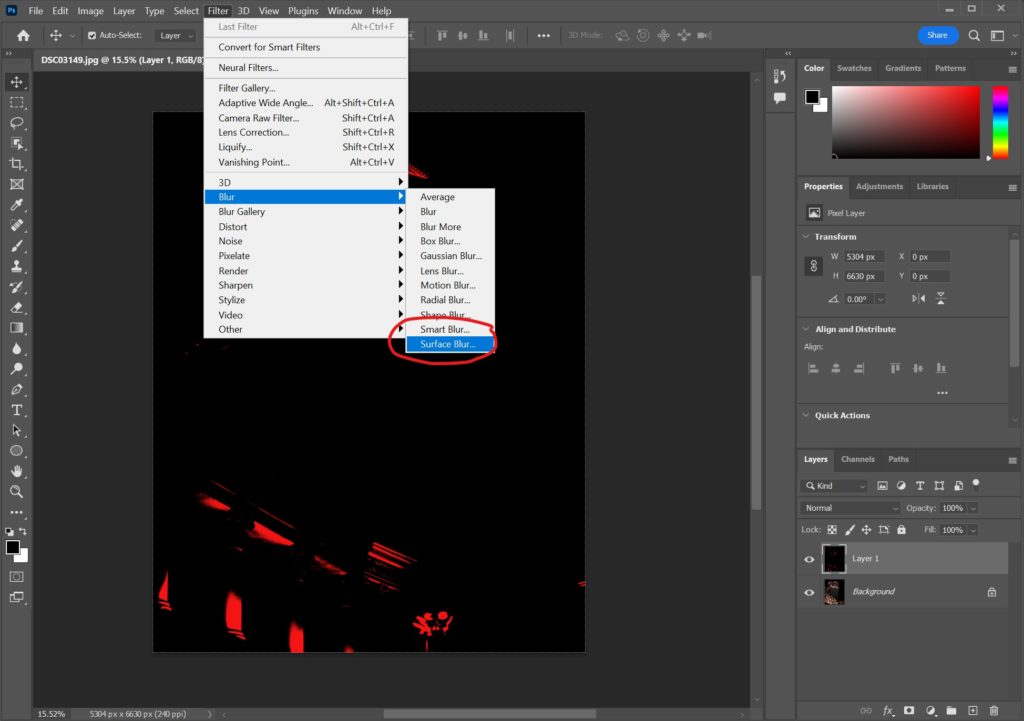
Select Filter > Blur > Surface Blur
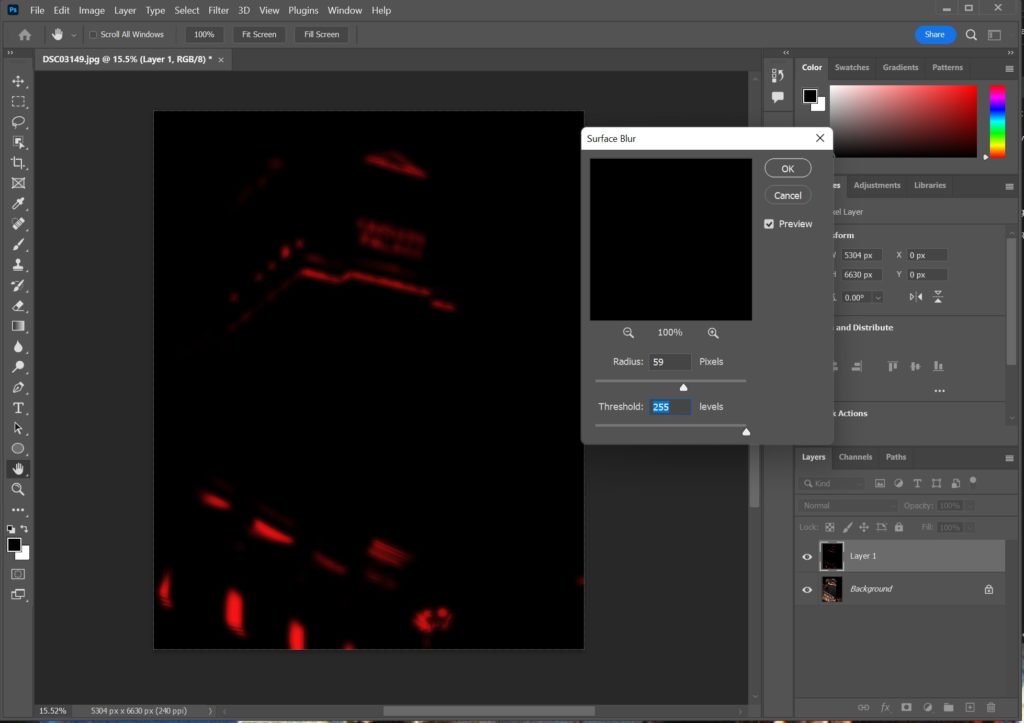
Increase the radius and the threshold of the blur. I like to raise the threshold pretty high to 255.
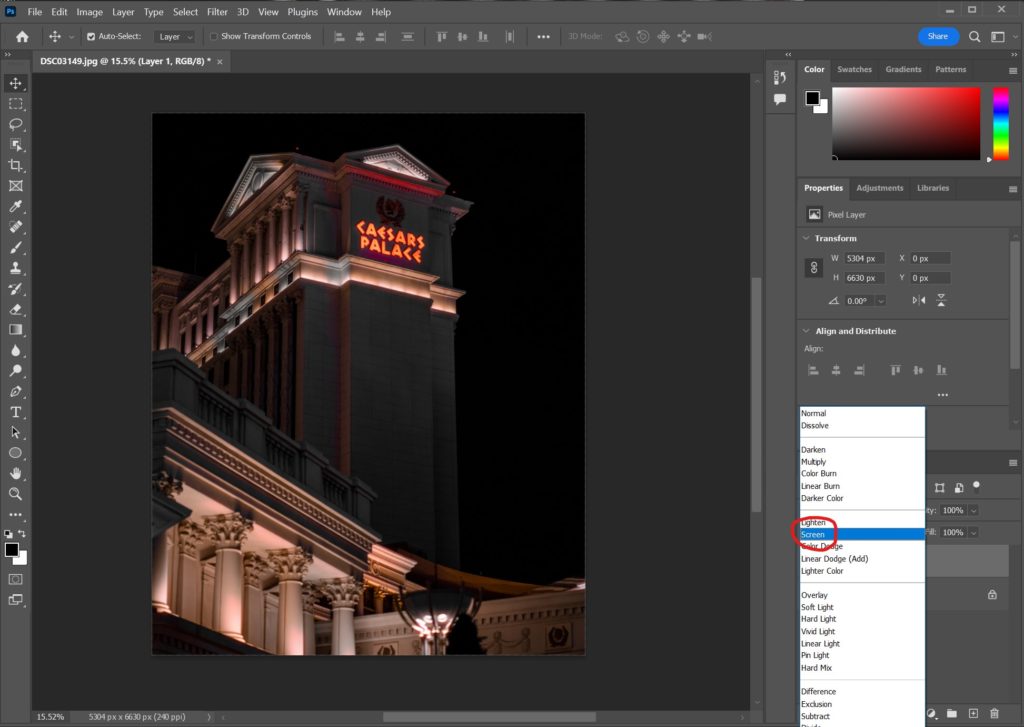
Select the Blending mode and select “Screen”.
Step 4: Increase Halation Effect

Create curves adjustment layer and select clipping so that it only effects the layer and not the entire image. Then increase the curve to taste.

Create Hue/Saturation layer and adjust to the look that you desire. I don’t typically change the hue and I’ve only increased the saturation.
Here are the final results!

