Gizmos, What is that?
If you are a Visual Effects major, or someone interested in compositing, you should be aware of the many ways you can solve a problem with Nuke software. This node-based program can sometimes look like an extensive spider web when you have many nodes for a specific task. Recently, I learned about a tool that can help artists facilitate workflows when doing a particular job multiple times in Nuke. It is beneficial when you need to share that workflow with a team. This tool is called a Gizmo, and it consists of a group of nodes that multiple artists may reuse. Gizmos are excellent for color grading techniques and workflow continuity, but there are many other ways to use this network of nodes; you can even create your own! During this first part of the Gizmo article series, I want to show you how you can effectively download and use a Gizmo from the web at no additional cost.
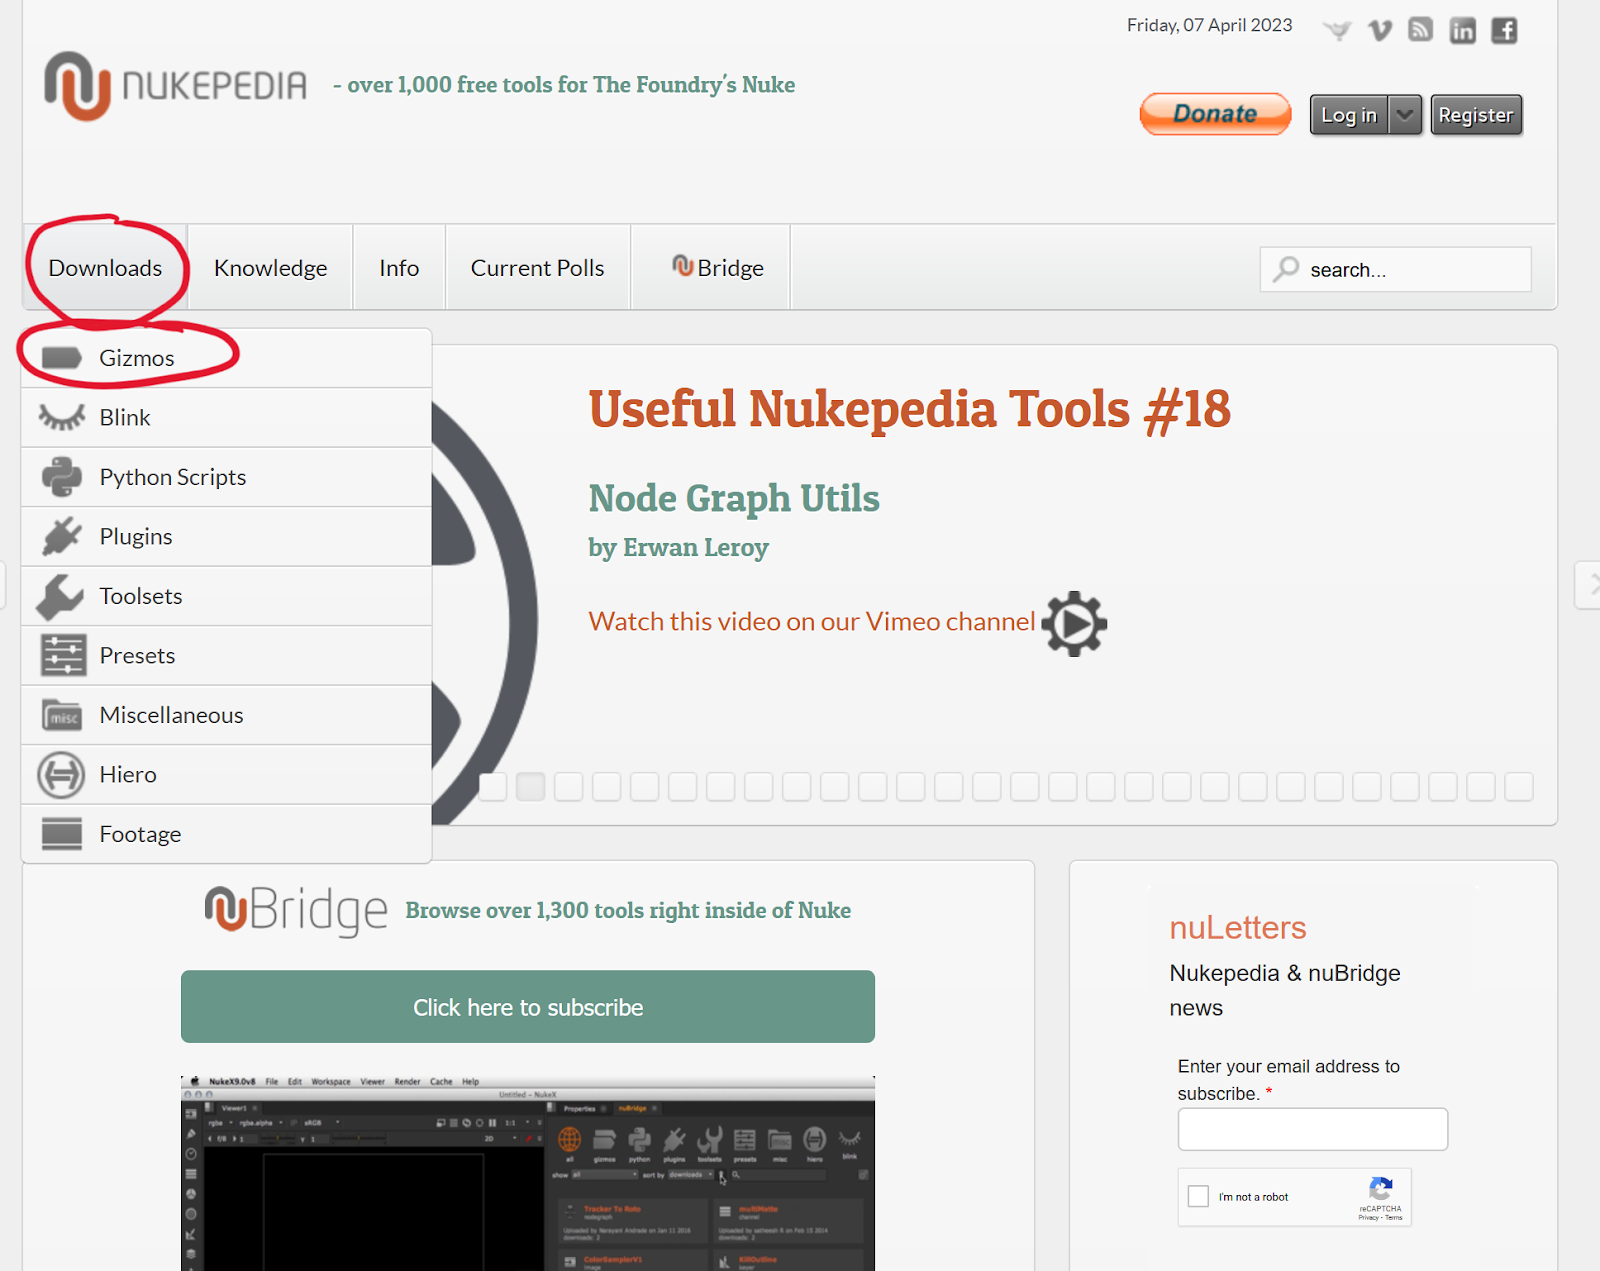
When using another artist’s Gizmo, it is important to keep in mind the right place to locate this tool for it to work efficiently. This reusable tool or group node must be saved in a separate .gizmo file in your Nuke plug-in folder. You can download Gizmos from Nukepedia, which provides an extensive library of tools you can use and test in your projects.
- First, browse all the Gizmo options from Nukepedia, and select the most effective one for the project you are creating. Keep in mind that to download it, you will need to create an account.
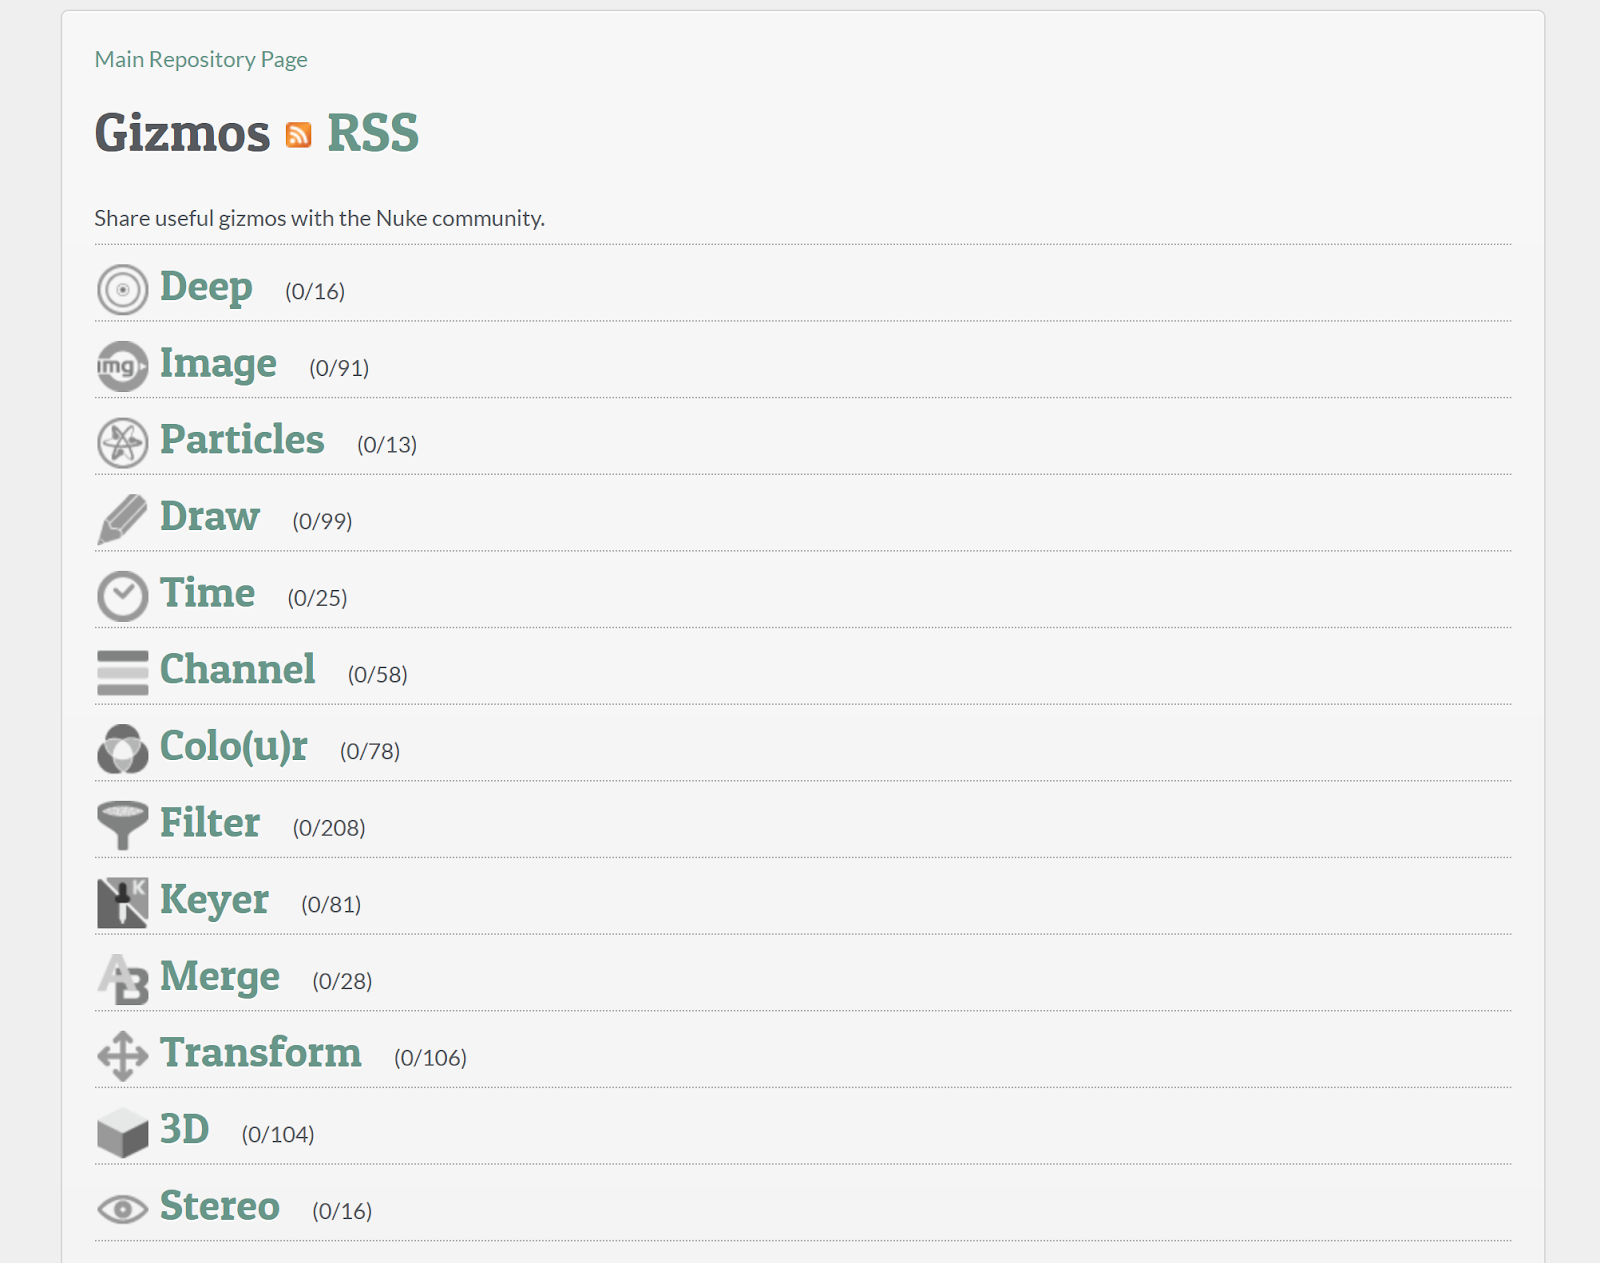
You can select Gizmos from multiple categories such as Image, Particles, 3D and more!
After making your selection and creating your Nukepedia account, you can download the tool.

- Once you download your Gizmo, make sure to save it in the correct plug-in folder. For example, the correct file path to access that plug-in folder on a personal computer is as follows.

You should follow a slightly different file path to save Gizmos on Montgomery Hall’s computer, seen below:
CDrive>users>name>.nuke
- After you download a Gizmo and place it in the correct plug-in folder, you should activate that plug-in on Nuke. By Clicking “Update” on “All plugins.”

- After you activate the plug-in, you can open the Gizmo on a notepad and drag the piece of code into the Nuke node Graph. This code is the Gizmo that will create the node network in the software. The code script contains control settings for the tool; the definition of the file is read at the same time the code is loaded into Nuke. You can always change the settings on the script.

Once in Nuke, you can explore what this tool provides and how you can apply it to your projects!
Here is the before and after of my Bloom Gizmo test:

This Bloom Gizmo is pretty straightforward. You can control the amount of bloom, similar to how you work with a luminance keyer node. In addition, you can create a mask to select the area from your plate that you would like to be affected by the Gizmo.

Overall, Gizmos are a powerful and helpful tool for compositing workflows. Now that you know how to set it up, feel free to explore all the Gizmo options Nukepedia offers and create your masterpiece without limits. Stay tuned to an upcoming article where I will walk you through how to create your own Gizmo tool to share with a team or reuse in your work!
Sources: